


Best Sellers


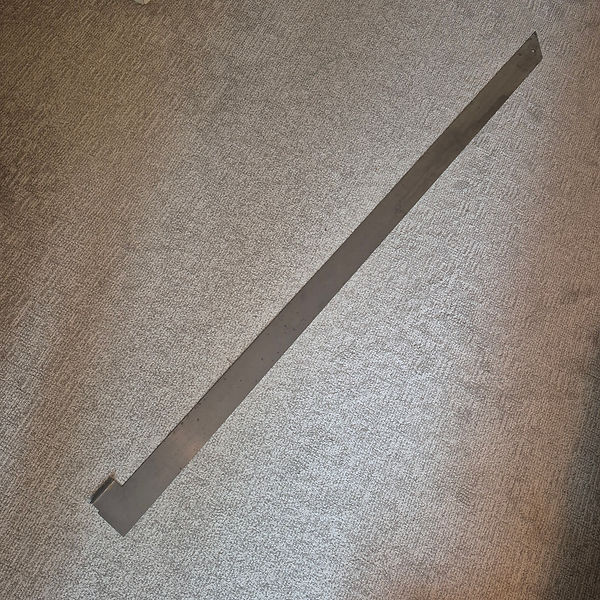
straightedge guide
advantages for using the edge guide the straight edge is one of the most often used tools for carpet seams it works great on a verity of different styles of flooring. that's a lot of time cutting seams. But there is also a verity of ways to use a straight edge for cutting the selvedge on a carpet seam.it could depend on where the carpet is at, in place in the room it is to be installed at or another room your staging things at or even the straightness of the factory edge can be a factor. When preparing a seam edge with a normally straight piece of carpet {as straight as it gets} one can lay back the main shot of carpet from right to left and place your straight edge on the carpet near the edge this is where things differ, some installers place it on about a inch and look down the carpet to align it possibly ending up ok with that. you can snap a line about an inch in and follow that with your straight edge, starting in the middle and working both directions is an option as well they all might work if that's your go to way and it has worked in the past. But I think that the majority of installers are confident that the edge of most carpets is straight enough to measure in from the edge about an inch and by doing so will end up with a sufficiently straight seam edge. that does work well for most installers. This is where this new tool comes into play.it has a guide on the leading end so you don't have to keep measuring the salvage cutoff width each time you slide the straight edge farther down the carpet to cut the seam.at the beginning of this process a one-inch measurement is used one time. the guide sets the cut depth on the leading end of the tool for you. now you make the cut and just slide the tool down the carpet as always lining up the tool with the cut you just made. again, no need to measure the leading end because the guide does that for you. It's actually more accurate than using a tape measure because the guide will average out the slight waviness of the factory edge it also helps to keep the tool from moving when kneeling on it especially in tight areas where things can shift from not enough room to work it also is a big help in low lighting. the edge guide come in different colors and cut depth. it is a slip-on tool that saves time, is inexpensive and works great


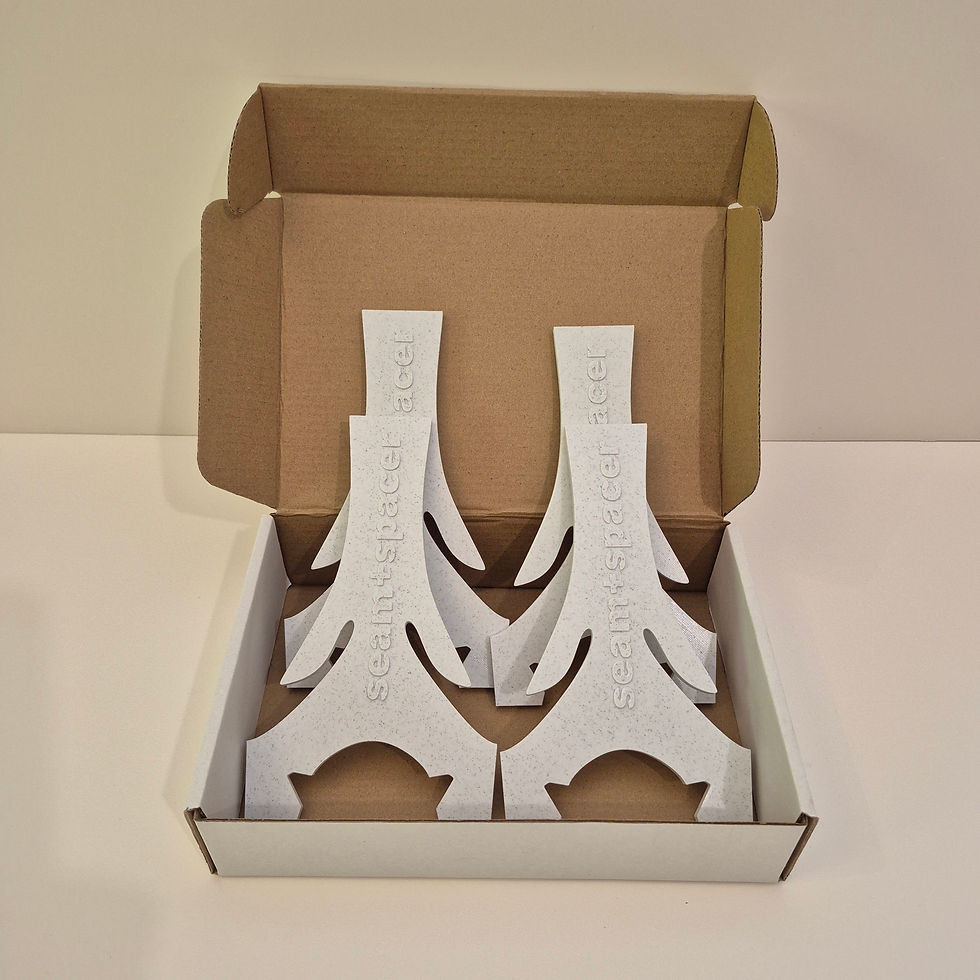
seam spacer tool
Instructions for Using the Seam Spacer Tool. We have developed a new tool and installation method for sealing carpet seams on carpets such as Berber, commercial stretch-in, and glue-down double-stick. This method should be applied to any carpet you decide to use a seam sealer on, as sealing all edges is essential for maintaining strength durability. Which is supposed to be done on all carpets not that the flooring isn't manufactured properly but because we are the end user and all edges in the field area should be sealed to be as strong as the rest of the material. With that said, let's get started. The tool is used as follows: Cut and prepare the seams as you usually do Butt the seams together in place, aligning the pattern or begin strategizing how to stretch alignment if necessary. Sometimes, it may be helpful to start in the middle of the seam and work towards one end, then from the middle to the other end for a more accurate pattern match. Once the edges are butted together, one side can be folded back while the remaining side is seam sealed. At this point, place the spacers on the sealed edge, using spacers about every five feet down the seam. The notch of the spacer should slip over the carpet to keep it in place and can also be slipped over the seam tape to center the seam tape if desired. This can be particularly useful on difficult seams close to a wall where things may shift. Once the first edge is sealed and the spacers are installed, lay the second side of the seam onto the spacers, this keeps the carpet edges slightly apart down the seam. While it is not necessary to use the notch on the second side, it can help keep the fill piece locked in place during the seaming process. Since the carpet edges are not touching at this point, you can use sealer to the second side, ensuring both edges are sealed. It’s crucial to avoid freshly sealed seams bumping into each other, as this can damage the edges due to them sticking together. CFI recommends seaming the carpet with the sealer freshly applied. Even if the sealer is dried, the edges can still be damaged if they rub together during the seaming process. If using a hot glue gun for sealing, it can melt when it touches the iron, causing sticking and fraying. A glue gun is not suitable for sealing seams, even when using a heat shield. At this stage, double-check the pattern alignment and make any adjustments since the edges are not touching. Set the iron in place and begin moving down the seam; you’ll notice how much easier it moves without the carpet dragging on top of it. The first spacer should be placed about three feet from the starting point and removed when you’re about one foot away, using a straight upward motion with a slight twist. The seaming process can be done in a continuous zipper motion, creating a uniform seam without having to stop and start, which can cause a speed bump effect from the glue being dragged along with the iron and then deposited at the back of the iron when you stop pushing it. The spacers are particularly useful for row-cut seams that have a slight rounded edge, due to crooked rows, without them the full sections keep hitting each other when your using your kicker to tighten up the seam and that fullness can want to push the seam apart behind you as you work down the seam, a seamer down can help, but with the spacers the carpet is Helt up a little and out of the way until you get to those areas which can be lifted up with a awl 1 foot to the side to relieve the fullness pressure at the seam . Maintaining separation until the seam is made leads to a better-looking seam and prevents damage from bumping edges together while working the seam The seam can also be wet set in accordance with CFI instructions. There are multiple ways to use the spacers, and you will likely find one that fits your installation process, making them a valuable tool on a stressful day of pattern matching and sealing carpets.


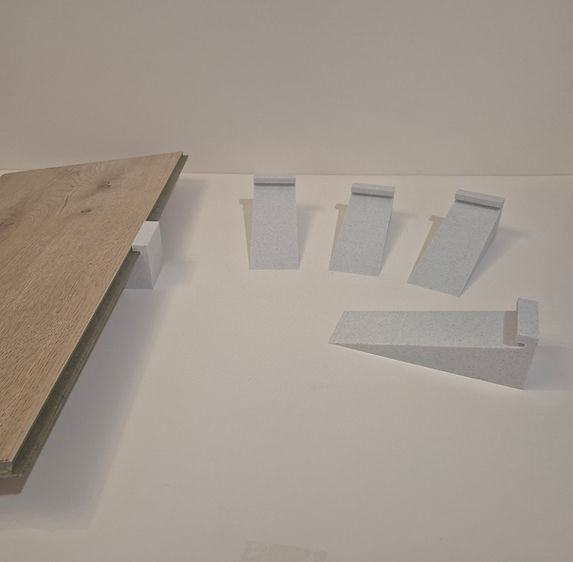
laminate wedge tool
installing a click together flooring product is a repetitive process that most people can do if they are determined to accomplish a project. but flooring jobs take time to finish it's easy to get frustrated and discouraged which leads to slowing the progress and excepting some flaws in workmanship. a few good tools help with speeding up the job accomplishing more and with better results. This is one of those tools that make it easier to get the job done. most click together flooring locks together easer when it is at a slight angle up from the floor. some of the wider planks are prone to bouncing out when you start working down the row even when you build a whole row at one time especially on the first few starting rows. this new tool helps with that. These laminate wedges are slipped under the flooring to keep the correct installation angel for you. Once the second row is started use one in the center of the first and second plank this keeps the flooring going in the correct direction. into the click not out. install those planks or build the whole row and let the tapping block finish the job with downward pressure as the wedges are pushed away. they work great when working alone they can be used as spacer wedges along the wall and at the end of a row to keep a gap while tapping an end joint every installer should have a set in there toolbox maybe not to use every day but a lot of the new styles of wide plank flooring is very stubborn and these laminate wedges help with that problem on the first few rows and beyond. all you will need is about four of them for the average size room.


New Arrivals

About Us
We are a tool company located in Washington state we have been working on new ideas and designs for the flooring industry and are producing new tools and methods that can produce better results and enhance productivity in flooring installation


OUR TRUSTED CARPET BRANDS


EASY, CONVENIENT SHOPPING
CURBSIDE PICKUP
Order online or through our mobile app, and we'll have your tools ready for pickup at your convenience.
FREE SHIPPING
Enjoy free shipping on orders over $50 for a hassle-free shopping experience.

SHOP ON-THE-GO
Find everything you need for your carpet projects with our user-friendly mobile app.

DOWNLOAD OUR APP
Enjoy a seamless shopping experience anytime, anywhere.


SUBSCRIBE FOR EXCLUSIVE DEALS AND CARPETING TIPS!
